

|
|
DIRECTIONS:
Phase I |
|
*NOTICE* |
|
Phase 1- |
|
|
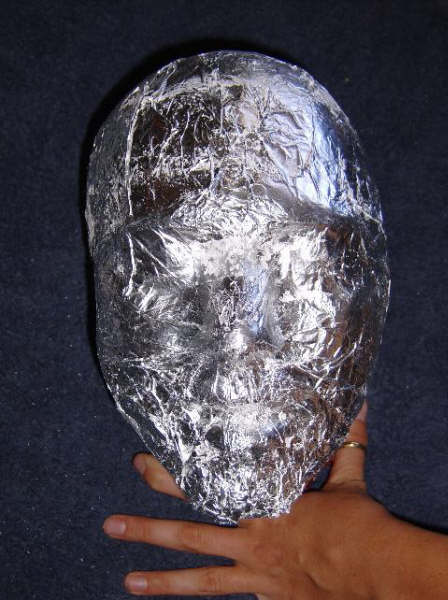
STEP #1 (picture 1)
Take the manikin head and wrap a large piece of foil around the face, tapeing it into place. Make sure that the foil is pressed into every feature so that it maintains the integrity of each feature. |
|
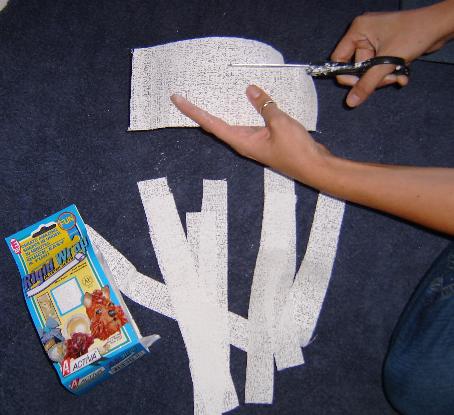
STEP #2 (picture 2)
Take the plaster cloth and cut it into 9" lengths. Then take those lengths and cut them into thirds. |
|
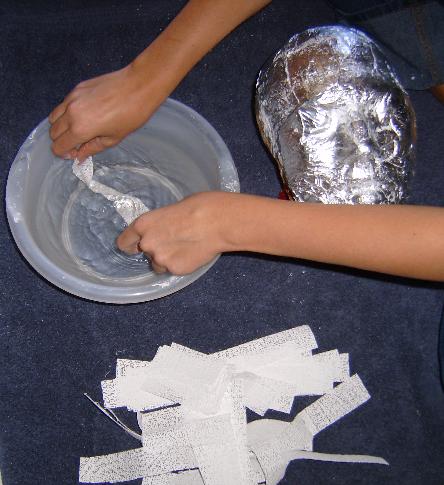
STEP #3 (picture 3 and 4) Dip strips into warm water and place horizontally across face, layering each edge so that the plaster will set well without any gaps. Pay special attention to the nose and chin. You will probably have to cut a few of your strips shorter to facilitate the curvature of the nose and chin. After every other layer of horizontal strips, place 2 verticl strips on both sides of the face to keep things together. Use the entire package of plaster cloth. |
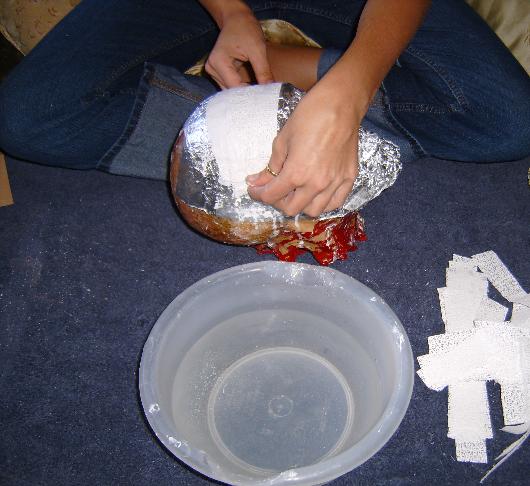
| STEP #5 Peel the edges of the plaster away form the head. Then pull the forehead of the cast away from the face, be carefull you don't want it to crack. When you get the cast off, throw away the foil |
| STEP #4 Let dry on the manequine head at least 45 minutes before removing. |
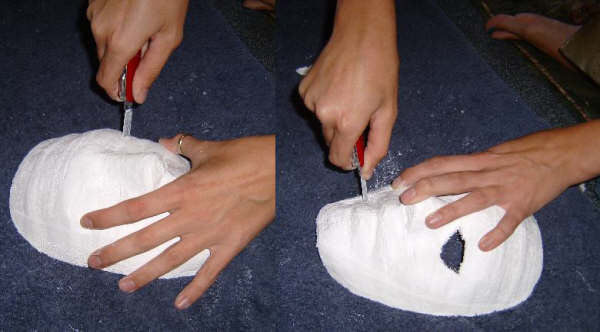
| STEP #6 (picture 5) Use the scisors to trim the edges and the utility knife to cut eye, mouth, and nostril holes. When you finish the holes, use a lighter to carefully burn away any lose strings left behind by trimming. If the plaster still feels damp, let it set up overnight. |
|
DIRECTIONS:
Phase 2 Materials needed: |
|
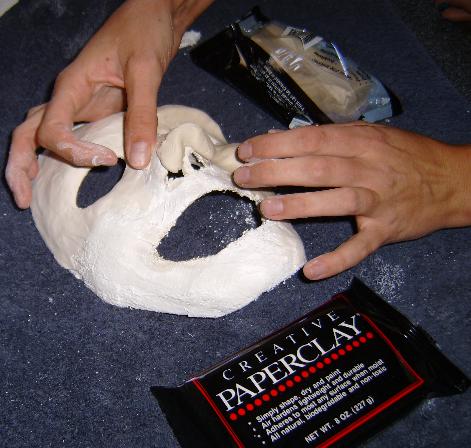
| Step 1 (picture 6) Using your hands spread the clay as evenly as possible across the inside and outside of the cast. Use your imagination to develope the overexadurated features. Remember, no face is perfect so don't stress about symmetry. Also it is almost impossible to spread the clay perfectly smooth, don't worry if there are small gaps or bumps. Sanding will take care of this problem. |
| Step 2 Let dry overnight in a dry, safe place. |
|
DIRECTIONS:
Phase 3 |
|
Phase 3- |
|
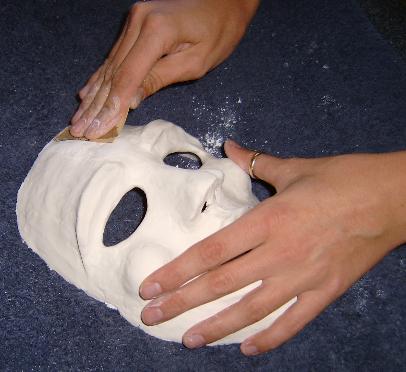
| STEP 1 (picture 7) Sand both the inside and outside of the mask, until it has a soft, raw porceline look. |
| STEP 2 (picture 8) Drill two holes on each side of the mask for the ties. Be carefull not to drill too close to the edge or the eyes, you don't want to cause a crack. Use the smallest sized drill bit that you can easily fit your ribbon through. |

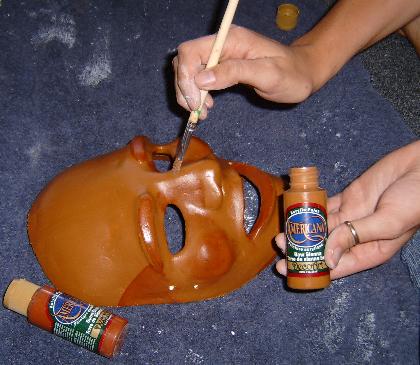
| STEP 3 (picture 9) Paint entire mask with a light "Terracotta" color. Let dry for 15 minutes then excentuate the features with a darker hue. Let dry for 15 minutes. |
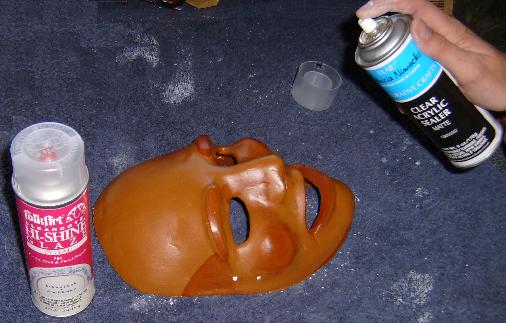
| STEP 4 (picture 10) In a well ventilated area (like outside), spray inside of the mask with a gloss acrylic craft sealer, gloss is used on the inside for cleaning purposes. Once the inside is dry, spray the exterior with a matte finish craft sealer. The matte finish gives it a faux leather look. Let dry for about 30 minutes. |
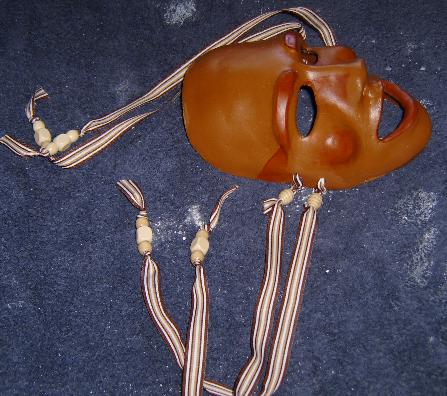
| STEP 5 (picture 11) Use ribbon and beads to make the ties to hold your mask on your face. |
|
THE END
BEAUTIFUL WORK, Absolutely Amazing! |